
Table of Contents
- Introduction
- Logging into Your Viber Hosting Account
- Locating Your Invoices
- Choosing a Payment Method
- Completing the Payment
- Confirming the Payment and Receipt
- Troubleshooting Payment Issues
1. Introduction
Keeping your web hosting and domain active requires timely invoice payments. Viber Hosting provides a seamless billing system where users can manage and pay their invoices directly from their account dashboard. This guide will walk you through the payment process, ensuring that your website remains online without any disruptions.
2. Logging into Your Viber Hosting Account
To begin the payment process, follow these steps:
- Visit the Viber Hosting website.
- Click on Login at the top right corner.
- Enter your email address and password.
- Click Sign In to access your account dashboard.
If you’ve forgotten your password, click on Forgot Password? and follow the instructions to reset it.
3. Locating Your Invoices
Once logged in, navigate to your invoices:
- In the Client Dashboard, look for the Billing section.
- Click on Invoices to see all your outstanding and paid invoices.
- Locate the unpaid invoice you want to settle.
- Click on the View Invoice button to see detailed billing information.
Ensure that the invoice details (such as hosting plan, domain name, and renewal period) are correct before proceeding with the payment.
4. Choosing a Payment Method
Viber Hosting offers multiple payment methods to ensure flexibility. Common options include:
- Credit/Debit Card (Visa, MasterCard, AMEX)
- PayPal
- Bank Transfer (if supported by Viber Hosting)
- Cryptocurrency (if applicable)
To choose a payment method:
- Scroll down to the Payment Method section on the invoice page.
- Select your preferred payment option from the dropdown menu.
- If required, enter your payment details (e.g., card number, expiration date, and CVV).
5. Completing the Payment
After selecting your payment method, follow these steps:
- Review the total amount and payment details.
- Click the Pay Now button.
- If using PayPal, you will be redirected to the PayPal website to complete the transaction.
- If paying via Credit/Debit Card, enter the required details and confirm the transaction.
- Wait for the payment confirmation message.
It may take a few moments for the payment to be processed. Avoid refreshing the page while the transaction is being completed.
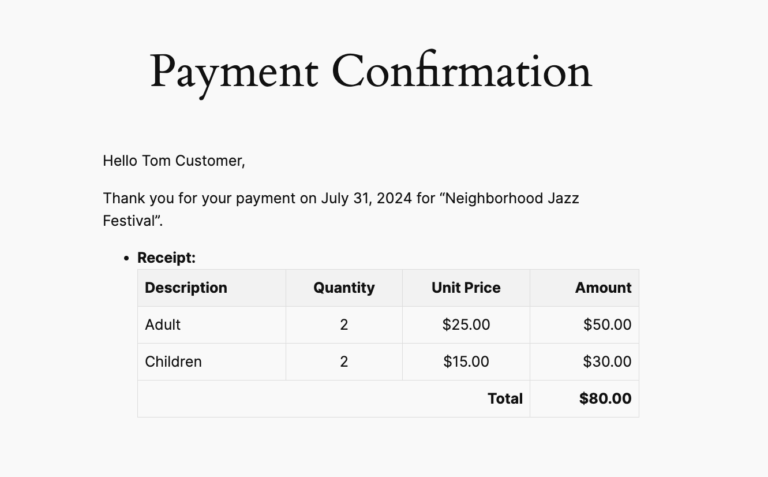
6. Confirming the Payment and Receipt
After making the payment, verify that it was successfully processed:
- You should receive a confirmation email from Viber Hosting with payment details.
- In the Billing section of your account, check if the invoice status has changed to Paid.
- If needed, download the invoice for your records by clicking Download Receipt.
If the invoice is still marked as unpaid after a successful transaction, contact Viber Hosting’s support team for assistance.
7. Troubleshooting Payment Issues
If you encounter issues while making a payment, consider these troubleshooting tips:
- Payment Declined: Ensure your payment method has sufficient funds and that your bank allows online transactions.
- Invoice Not Updating: Log out and log back into your account to refresh the billing status.
- Technical Errors: Try clearing your browser cache or using a different device to complete the payment.
- Duplicate Charges: If you accidentally made multiple payments, contact Viber Hosting support for a refund.
- Alternative Payment Methods: If your preferred payment option is not working, try using another method listed on the invoice page.
By following this guide, you can easily manage and pay your invoices on time, ensuring uninterrupted hosting and domain services.


You must be logged in to post a comment.