1. Understanding WHMCS Account Statuses
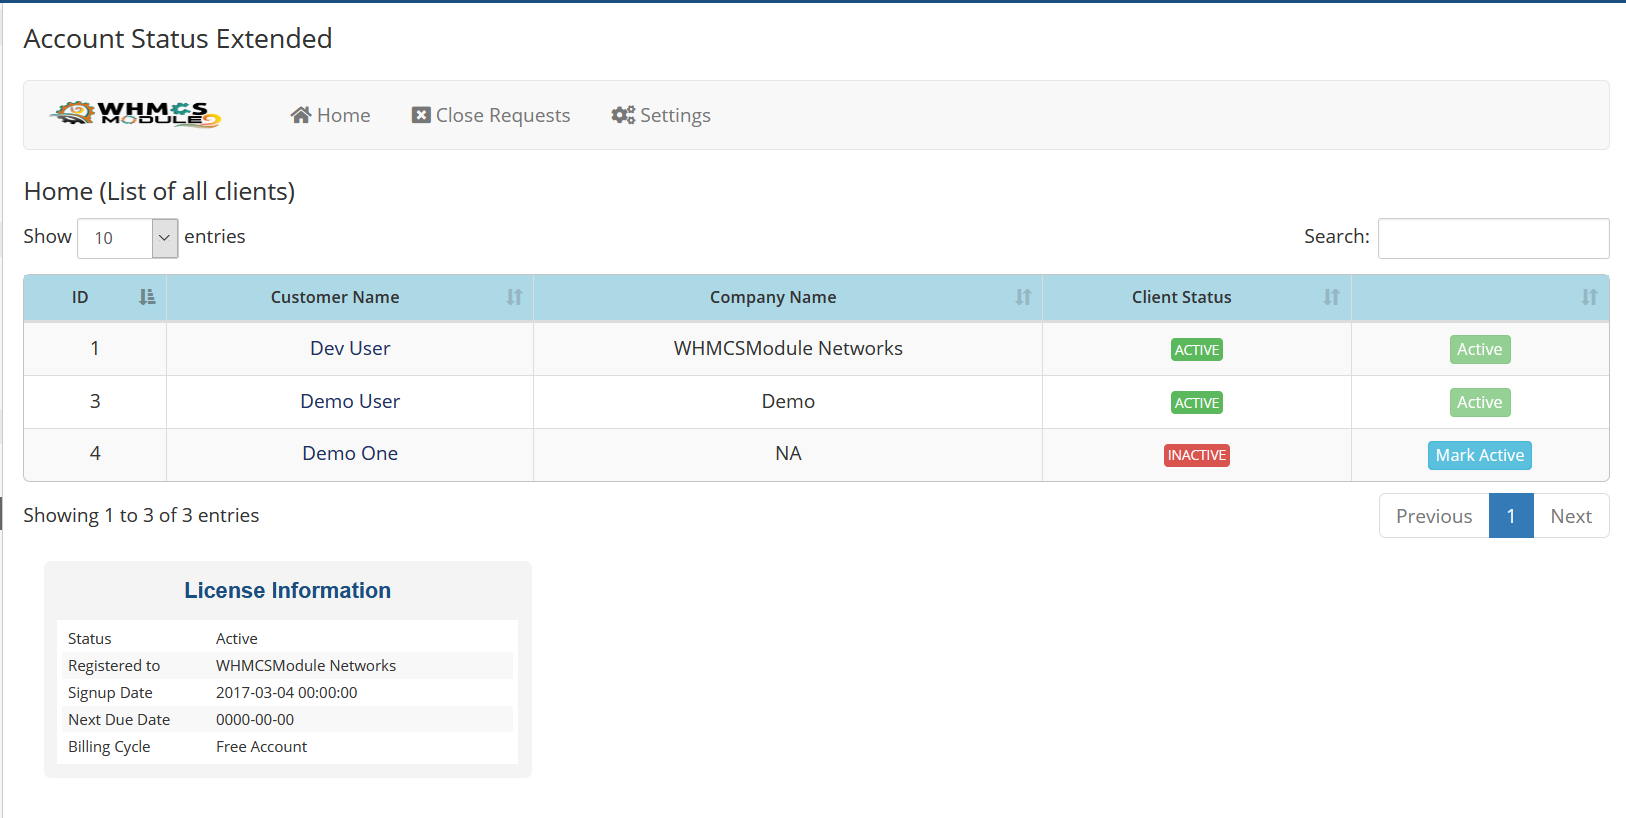
WHMCS classifies client accounts under different statuses to streamline account management. The primary statuses include:
- Active – The client has an active service or is currently engaged.
- Inactive – The client has no active services but retains account information.
- Closed – The client’s account is permanently disabled.
Changing an account to Inactive helps declutter WHMCS without deleting client data, allowing for reactivation when needed.

2. Changing Account Status Manually in WHMCS
You can change a client’s status manually through the WHMCS admin panel. Follow these steps:
- Login to WHMCS Admin Panel.
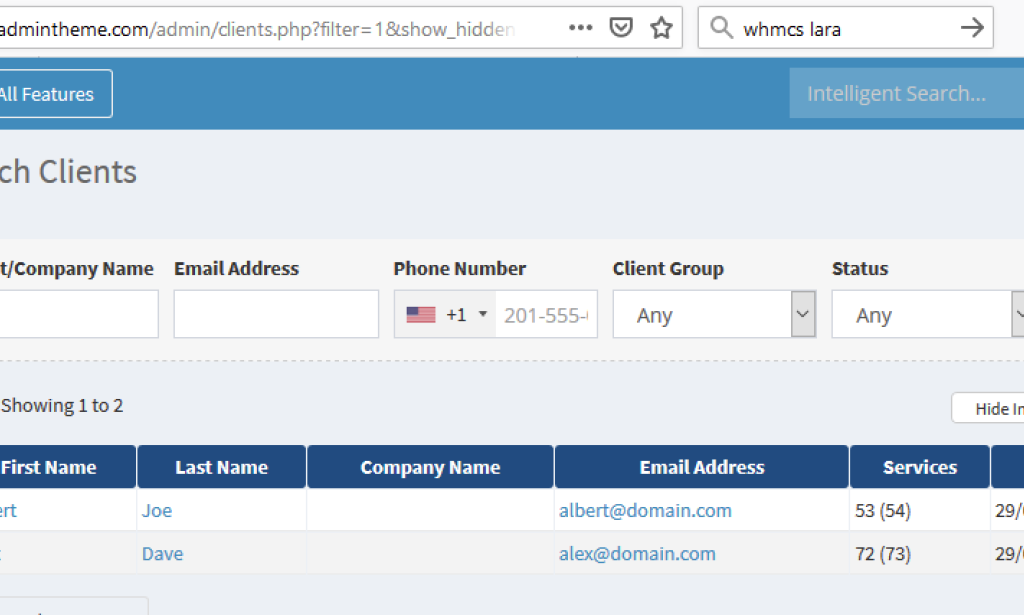
- Navigate to Clients → View/Search Clients.
- Search for the client using their name, email, or client ID.
- Click on the client’s name to open their profile.
- Locate the Status dropdown menu in the Summary tab.
- Change the status from Active to Inactive.
- Click Save Changes to update the status.
This method is best for updating individual accounts manually.

3. Automating Account Status Changes
WHMCS allows automation of status changes using Automation Settings.
Enabling Auto-Status Updates
- Go to Setup → Automation Settings.
- Find the Client Status Update section.
- Choose the option to automatically mark clients as inactive if they have no active services or invoices.
- Click Save Changes to apply the setting.
WHMCS will now automatically update client statuses based on service activity.

4. Bulk Updating Account Statuses
For mass status updates, use WHMCS’s Bulk Actions feature:
- Navigate to Clients → View/Search Clients.
- Use filters to find clients with no active services.
- Select all relevant accounts using the checkboxes.
- Click Mass Update and choose Change Status.
- Select Inactive and confirm the action.
For advanced users, you can also update statuses via MySQL database:
To bulk update account statuses in WHMCS, use the Mass Update feature under Clients or execute an SQL query to change multiple accounts to Inactive efficiently.

5. Best Practices for Managing Inactive Accounts
- Set a Policy – Define a period after which inactive accounts are archived.
- Use Email Notifications – Notify clients before changing their status.
- Perform Regular Cleanup – Remove spam or fraudulent accounts periodically.
- Monitor Billing & Support – Ensure that inactive accounts do not have pending invoices or tickets.
Keeping WHMCS well-organized ensures a seamless billing and support experience.
 To change an account’s status from Active to Inactive in WHMCS, navigate to the Client Summary page. Locate the account you want to update, click the Edit button or choose Products/Services under the client’s profile. In the status dropdown, switch the status from "Active" to "Inactive" and save your changes. Marking an account as Inactive disables service billing and suspends automated actions without deleting the account. This is useful for managing dormant clients or terminated services without losing historical records. Ensure any outstanding invoices are addressed before deactivating to avoid billing discrepancies.


You must be logged in to post a comment.