
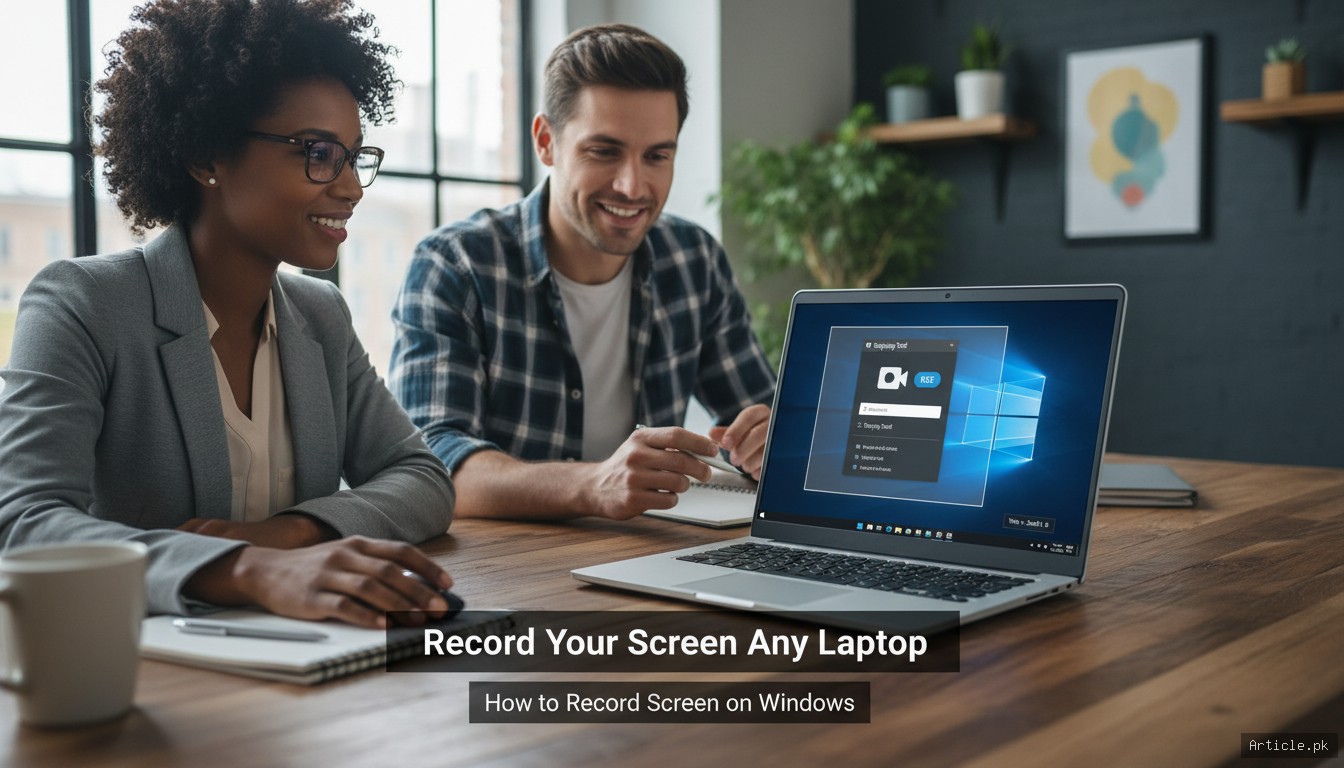
Whether you're creating a tutorial, recording a presentation, or capturing gameplay, knowing how to record screen on laptop is an essential skill in 2026. The good news is that every major operating system now includes built-in screen recording tools, so you don't necessarily need to install any additional software. This guide covers step-by-step methods for Windows, Mac, and Chromebook.
How to Record Screen on Windows
Using Snipping Tool (Windows 11)
Windows 11 includes screen recording in the Snipping Tool:
- Open Snipping Tool from the Start menu or press Win + Shift + S
- Click the video camera icon to switch to screen recording mode
- Click New and select the area of the screen you want to record
- Click Start to begin recording
- Click Stop when finished
- Save the recording as an MP4 file
Using Xbox Game Bar (Windows 10 & 11)
Originally designed for gaming, the Xbox Game Bar works for any application:
- Press Win + G to open the Game Bar
- Click the Record button (circle icon) in the Capture widget
- Or press Win + Alt + R to start recording immediately
- A small timer appears in the corner while recording
- Press Win + Alt + R again to stop recording
- Recordings are saved to
Videos/Capturesfolder
Note: Xbox Game Bar cannot record the desktop itself or File Explorer — only application windows.
How to Record Screen on Mac
Using Screenshot Toolbar
macOS has built-in screen recording accessible through the Screenshot toolbar:
- Press Cmd + Shift + 5 to open the Screenshot toolbar
- Choose either Record Entire Screen or Record Selected Portion
- Click Options to choose microphone input, save location, and timer
- Click Record
- Click the Stop button in the menu bar when done
- A thumbnail appears — click to preview and trim before saving
Using QuickTime Player
For more control, use QuickTime Player:
- Open QuickTime Player
- Go to File > New Screen Recording
- Choose microphone and other options
- Click the record button and select area or full screen
- Click Stop in the menu bar when finished
- Save or export the recording in your preferred format
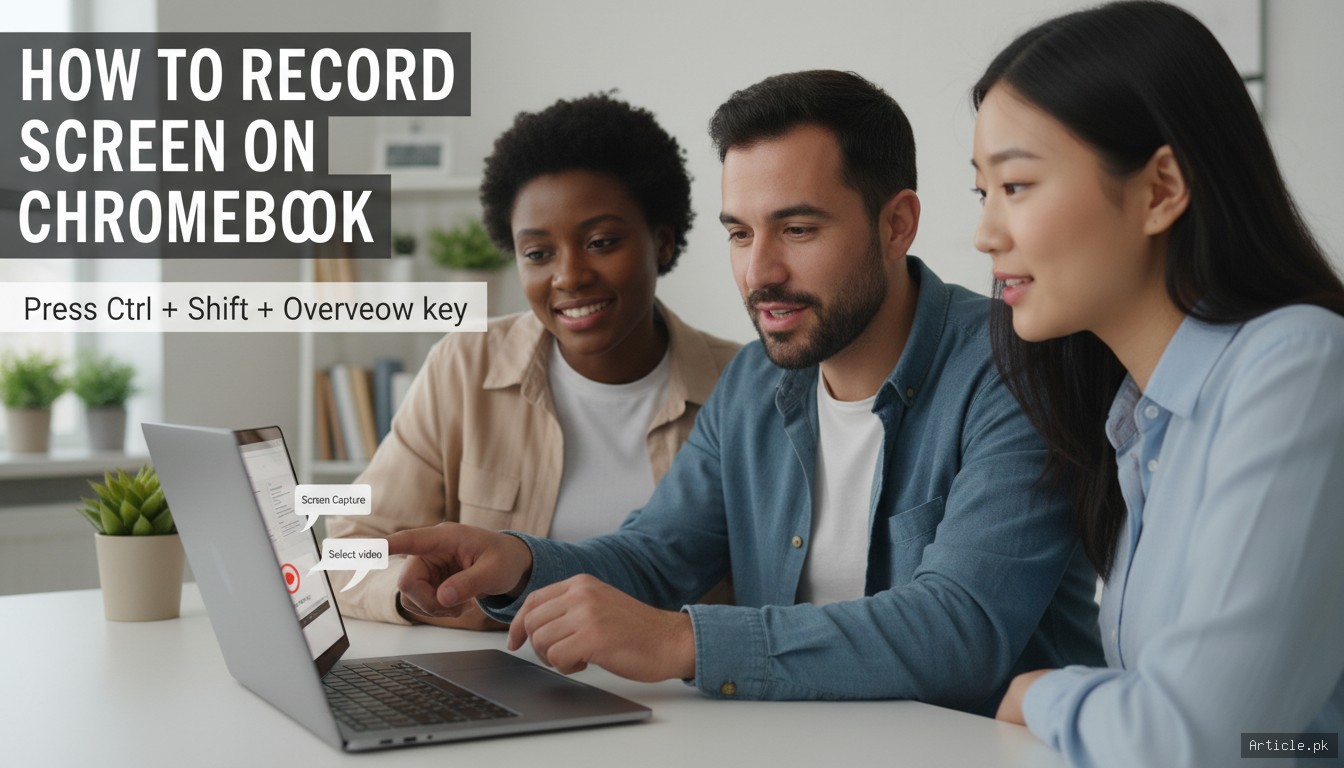
How to Record Screen on Chromebook
Chrome OS includes a built-in screen recording tool:
- Press Ctrl + Shift + Overview key (the key that looks like a rectangle with lines)
- The Screen Capture toolbar appears at the bottom
- Select the video icon for screen recording
- Choose: Full screen, Partial screen, or Window
- Click Record — a 3-second countdown starts
- Click the Stop button in the system tray when done
- Recordings are saved to the Downloads folder as WebM files
Free Third-Party Screen Recorders
If built-in tools don't meet your needs, these free alternatives offer more features:
OBS Studio (Windows, Mac, Linux)
OBS Studio is the gold standard for free screen recording. It's powerful enough for professional streaming and recording with features including:
- Multiple scene setup with transitions
- Webcam overlay
- Custom recording settings (resolution, bitrate, codec)
- Audio mixing from multiple sources
- No watermarks, no time limits
The learning curve is steeper than built-in tools, but OBS Studio is incredibly capable once configured.
ShareX (Windows)
ShareX is a free, open-source tool that combines screenshot and screen recording capabilities. It can record to MP4 or GIF and includes basic annotation tools. It's lighter than OBS but still feature-rich.
Tips for Better Screen Recordings
- Close unnecessary tabs and apps: Reduces clutter and improves performance
- Use a good microphone: Built-in laptop mics pick up fan noise — even a basic USB microphone improves audio quality
- Record at native resolution: Match your recording resolution to your display for the sharpest output
- Plan before recording: Outline what you'll cover to minimize editing later
- Clean your desktop: Hide personal files and notifications before recording
- Enable Do Not Disturb: Prevent notification pop-ups during recording
Frequently Asked Questions
Can I record screen with audio on a laptop?
Yes, all methods described above support audio recording. Built-in tools typically capture microphone audio by default. For system audio (sounds from your computer), Windows Game Bar and OBS Studio capture it automatically. On Mac, you may need a virtual audio driver like BlackHole to capture system audio alongside your microphone.
What's the best format for screen recordings?
MP4 (H.264 codec) is the most universally compatible format. It offers a good balance of quality and file size and plays on virtually every device and platform. If you need to upload to YouTube, social media, or share via email, MP4 is your safest choice.
How do I record just one window instead of the full screen?
Most tools support window recording. On Windows, Xbox Game Bar automatically records the active window. On Mac, Cmd + Shift + 5 lets you choose a specific window. In OBS Studio, add a "Window Capture" source to record a specific application window.
How much storage does screen recording use?
Storage usage depends on resolution, quality settings, and duration. As a rough guide, a 1080p recording at standard quality uses approximately 100-200 MB per 10 minutes. 4K recordings use significantly more. If storage is a concern, lower the resolution or use a more efficient codec like H.265.
Conclusion
Recording your screen on a laptop is easier than ever in 2026. Windows users have Snipping Tool and Xbox Game Bar, Mac users have the Screenshot toolbar and QuickTime, and Chromebook users have a built-in capture tool. For more advanced needs, free tools like OBS Studio provide professional-grade capabilities. Start with your operating system's built-in tools — they're sufficient for most use cases. If you need more features like webcam overlay, scene switching, or custom audio mixing, upgrade to OBS Studio. The key to good screen recordings is preparation, clear audio, and a clean workspace.

Aise content ki talash thi. Mil gaya finally!
Masha Allah, bohat acha kaam kiya hai.
You must be logged in to post a comment.