Video editing is an essential skill in today's digital world. Whether you’re working on a YouTube vlog, a corporate video, a short film, or even content for social media, knowing how to edit videos effectively can make all the difference in creating impactful and professional-looking content. In this article, we’ll walk you through the key principles, techniques, and tools for mastering video editing—whether you're a beginner or an experienced editor.
1. Understanding the Basics of Video Editing
Before diving into the tools and techniques of video editing, it’s essential to grasp the fundamental concepts of editing. At its core, video editing is about assembling video clips in a way that tells a story or conveys a message effectively. The primary elements involved include:
- Cuts and Transitions: These are the most basic tools in editing. A cut refers to the transition from one clip to another, while transitions (like fades or dissolves) smooth the shift between two scenes.
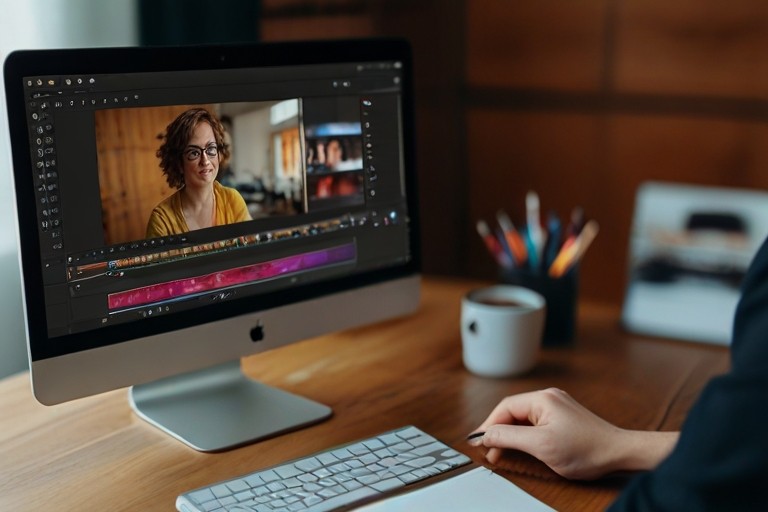
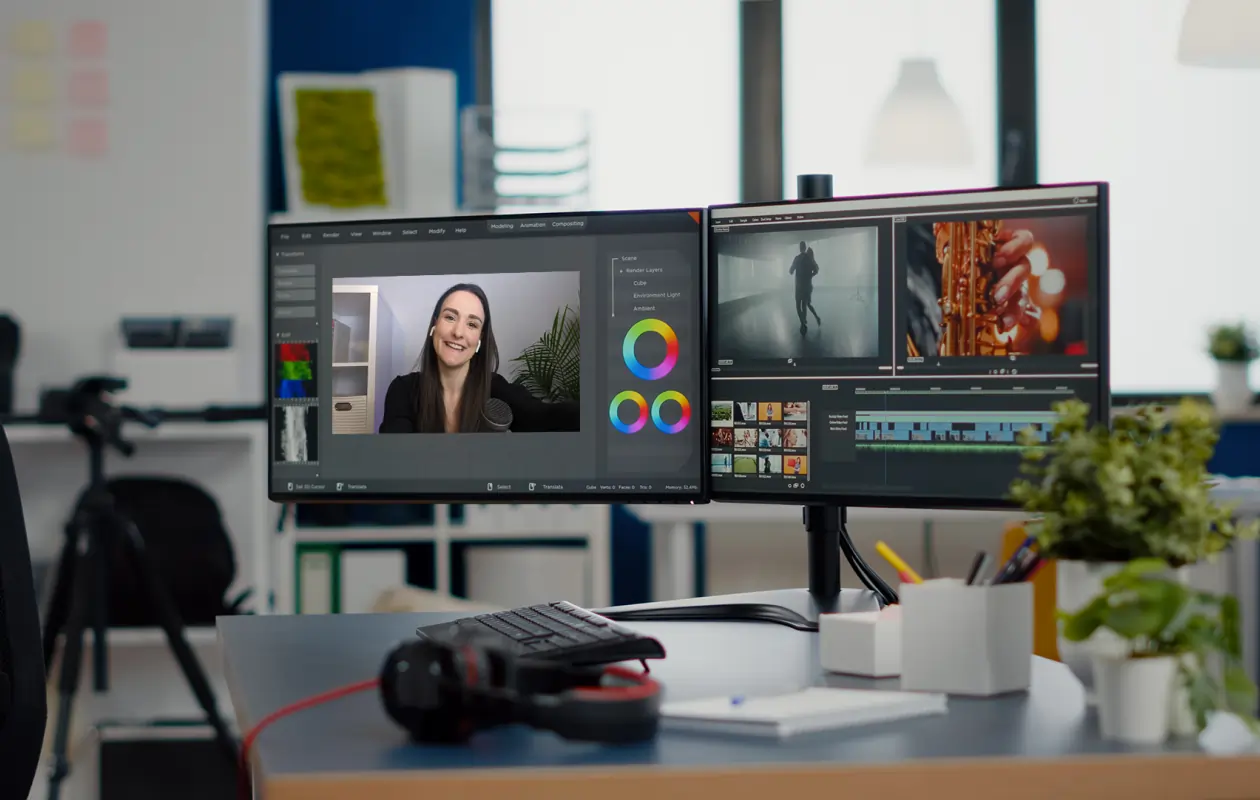
- Timeline: The timeline is where you arrange your video clips, audio tracks, and effects in sequence.
- Audio: Sound design is just as important as the visuals. You’ll need to balance dialogue, sound effects, and music to create a cohesive auditory experience.
2. Choosing the Right Video Editing Software
Selecting the right video editing software is one of the first steps in your editing journey. There are many options available, ranging from beginner-friendly tools to professional-grade programs. Some of the most popular video editing software includes:
- For Beginners:
- iMovie (Mac): A great starting point for beginners, iMovie offers simple drag-and-drop functionality, easy-to-use templates, and basic editing tools.
- Windows Video Editor (Windows): A user-friendly tool for those just getting started with video editing. It allows for quick edits, trims, and simple transitions.
- Intermediate Editors:
- Adobe Premiere Elements: A simplified version of Adobe Premiere Pro, Premiere Elements offers more flexibility and advanced features without being overwhelming for novices.
- DaVinci Resolve: Known for its powerful color grading tools, DaVinci Resolve is an excellent choice for editors who want to take their work to the next level.
- Professional Editors:
- Adobe Premiere Pro: One of the industry’s most powerful video editing tools, Adobe Premiere Pro is used by professionals for editing everything from YouTube videos to major motion pictures.
- Final Cut Pro (Mac): A professional-level tool for Mac users, offering robust features and seamless integration with other Apple software.
3. Essential Video Editing Techniques
Now that you’ve selected your software, it’s time to dive into the techniques that will elevate your video editing skills. Here are some of the essential techniques every editor should master:
-
Cutting and Trimming: The foundation of video editing lies in cutting and trimming clips to the right length. A clean cut ensures your video flows smoothly and keeps the viewer’s attention. Be mindful of pacing—too many cuts can make your video feel choppy, while too few can make it drag.
-
Transitions and Effects: Using transitions like fades, wipes, and dissolves helps create a sense of movement and connection between scenes. While effects can enhance the visual storytelling, it’s essential to use them sparingly to avoid overwhelming the viewer.
-
Color Grading: Color grading helps set the tone of your video. Whether you want a warm, vintage feel or a cool, cinematic look, color grading is an essential part of professional editing. Many editing programs like DaVinci Resolve or Premiere Pro offer powerful color grading tools.
-
Sound Design: Balancing audio is crucial to creating an immersive experience. Pay attention to background noise, music volume, and voice clarity. Layering sound effects and adjusting audio levels can significantly enhance the emotional impact of your video.
4. Advanced Video Editing Techniques
Once you’re comfortable with the basics, you can begin exploring more advanced video editing techniques:
-
Multicam Editing: If you're working with footage from multiple cameras, multicam editing allows you to sync the different angles and switch between them seamlessly. This technique is particularly useful for events, interviews, or performances.
-
Keyframing and Animation: Keyframes are markers that indicate where an effect or motion begins and ends. By adjusting keyframes, you can create smooth animations or transitions, such as zooming in or out, panning across the screen, or applying gradual effects.
-
Green Screen/Chroma Keying: This technique allows you to replace a solid-colored background (typically green or blue) with another video or image. It’s a powerful tool for creating unique settings or special effects.
-
Motion Graphics: Adding motion graphics, such as titles, text animations, and lower thirds, can enhance your video’s visual appeal. Many editing programs include built-in templates for motion graphics, but programs like After Effects offer more advanced features.
5. The Editing Process: Step-by-Step Workflow
A clear editing workflow helps keep the process organized and ensures a professional result. Here’s a general step-by-step guide to follow:
- Import Your Footage: Start by importing all of your raw footage, audio files, and any other assets you plan to use.
- Rough Cut: Assemble your footage in the timeline, focusing on getting the right clips in the right order. Don’t worry about perfect timing or transitions at this stage.
- Fine-Tuning: Once the rough cut is in place, focus on refining the video—adjust timing, trim unnecessary clips, and experiment with transitions and effects.
- Sound Editing: Add music, voiceovers, and sound effects. Make sure the audio levels are balanced.
- Color Correction and Grading: Correct the color balance and apply a grading style to give the video the desired look.
- Export: Once satisfied, export your video in the desired format for distribution, whether it’s for YouTube, social media, or a professional presentation.
6. Tips for Improving Your Video Editing Skills
- Keep Practicing: The more you edit, the better you’ll get. Practice with different types of videos to gain experience in various editing styles.
- Learn from Others: Watch tutorials, read articles, and study other people’s videos to pick up new techniques.
- Stay Organized: Keep your project files, assets, and clips well-organized to save time and reduce mistakes.
- Don’t Over-Edit: Sometimes, less is more. Resist the urge to apply too many effects or cuts, as this can distract from the content.
- Be Patient: Video editing can be time-consuming, especially when you’re refining the details. Patience and attention to detail are key to producing high-quality content.
7. Conclusion
Video editing is an art that combines creativity with technical skill. Whether you're editing a personal vlog, a corporate ad, or a cinematic project, understanding the tools, techniques, and processes involved can significantly improve your final product. By mastering the basics, experimenting with advanced techniques, and refining your workflow, you can elevate your video editing skills and create content that resonates with your audience.


You must be logged in to post a comment.