

Introduction
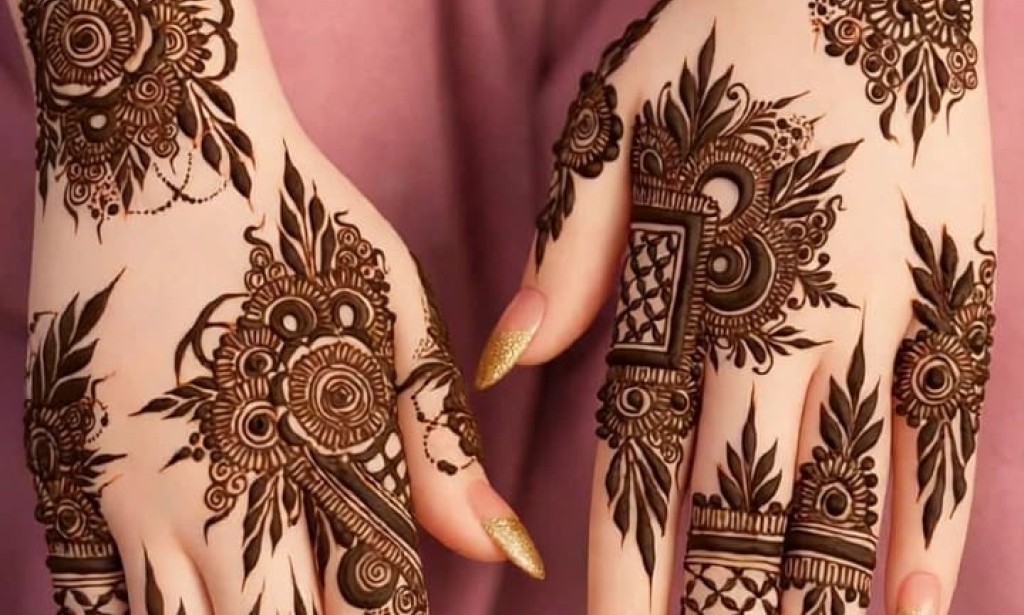
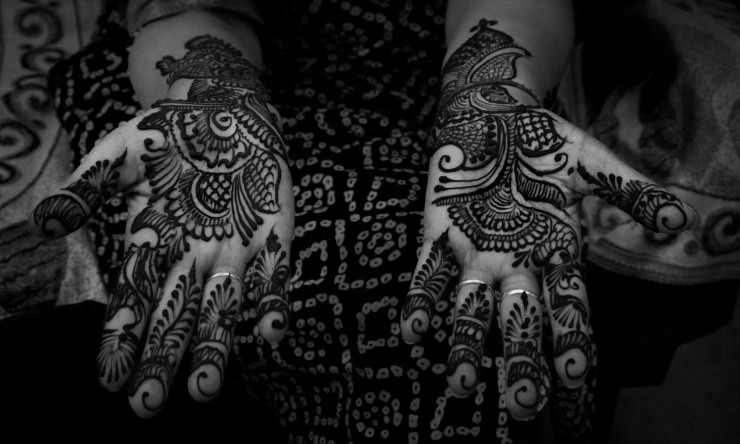
Mehndi is a beautiful form of body art that is popular in Pakistan, India, and many other countries. Girls and women often apply mehndi during Eid, weddings, family gatherings, and other special occasions. Although some mehndi designs look complicated, beginners can also learn to create beautiful patterns with a little practice. Simple flowers, dots, lines, leaves, and circles are enough to make an attractive design. Learning basic techniques is the first step towards creating neat and creative mehndi patterns at home.
What You Need Before Starting
Before applying mehndi, it is helpful to collect a few basic things. You will need a good-quality henna cone, a piece of paper for practice, and a clean, dry hand. Beginners should choose a cone that is comfortable to hold and allows the paste to come out smoothly. Practising on paper first helps you control the pressure and understand how the lines will look. You do not need expensive tools to start learning simple mehndi designs.
Step 1: Practise Straight and Curved Lines
The easiest way to begin learning mehndi is by practising straight and curved lines. Hold the cone comfortably and gently press it to release a thin line of paste. Try drawing short lines, long lines, curves, and waves on paper. Keep your hand relaxed and move slowly. Do not worry if your first attempts are not perfect. Regular practice can help you improve your control and make your lines smoother.
Step 2: Learn to Make Small Dots
Dots are among the simplest elements of mehndi art. They can be used around flowers, along fingers, or at the ends of curved lines. To make a dot, gently release a small amount of paste onto the surface. Try creating several dots of similar size. You can arrange them in a straight line, a circle, or a curved pattern. Neatly placed dots can make even a very simple design look more attractive.
Step 3: Create a Simple Flower
A small flower is an excellent design for beginners. Start by making a tiny circle in the centre. Then draw five or six small petals around it. Each petal can be made with a curved line that joins the centre area. Add a few dots around the flower to complete the pattern. Once you become comfortable with this design, you can make larger flowers or add small leaves around them.
Step 4: Add Leaves to Your Design
Leaves are easy to combine with flowers and curved lines. To make a simple leaf, draw two curved lines that meet at a pointed end. Repeat this shape along a stem or curved line. You can create a small branch with three or four leaves and place it near your flower. This combination creates a natural-looking pattern that works well on the back of the hand or near the wrist.
Step 5: Make a Simple Finger Design
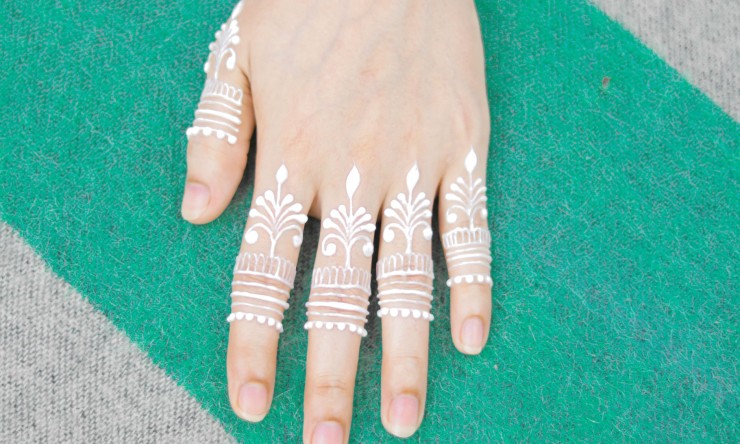
Finger mehndi is a good choice for beginners because it does not require covering the whole hand. Start with a small line near the base of one finger. Add tiny dots, short lines, or small leaf shapes along the finger. You can also make a small flower near the fingertip. Repeat a similar pattern on other fingers if you want a balanced appearance. Leaving some space between the patterns can help the design look clean and elegant.
Step 6: Create a Simple Palm Design
Once you have practised basic shapes, you can combine them to make a design on your palm. Begin with a small circle in the centre and add petals around it. Draw a few curved lines extending outward, then decorate them with leaves and dots. You can leave the remaining areas empty or add a few small details. Remember that a simple design does not need to cover every part of the palm to look beautiful.
Step 7: Allow the Mehndi to Dry Naturally
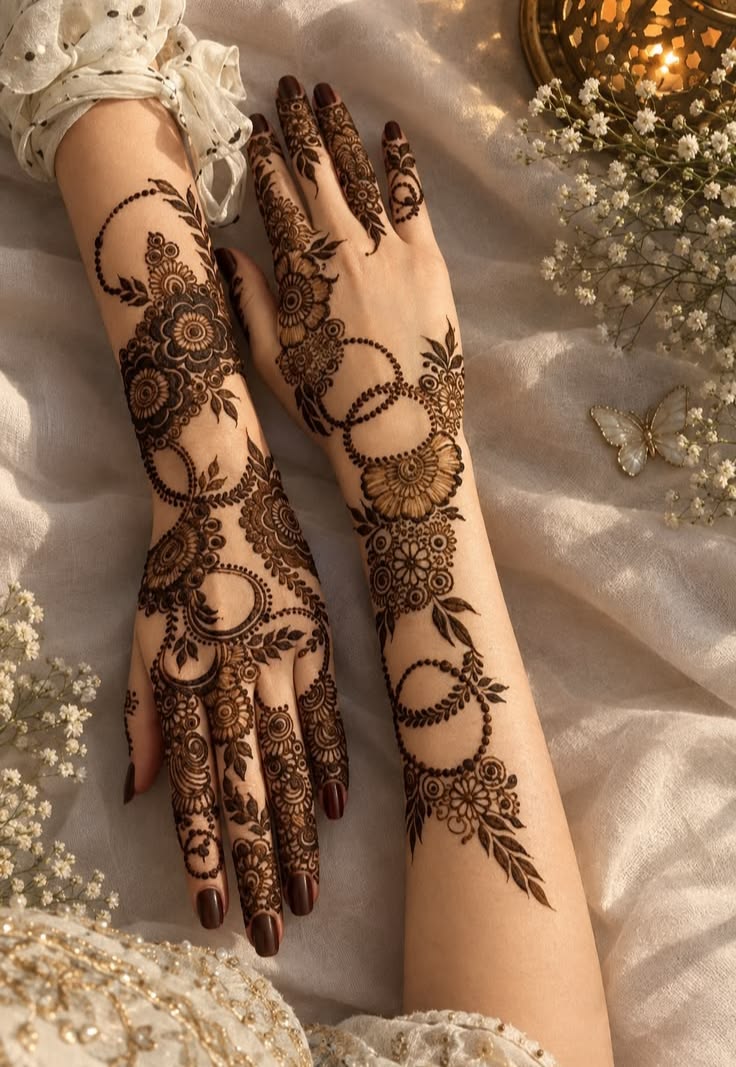
After completing your design, allow the mehndi paste to dry naturally. Avoid rubbing or smudging the pattern while it is wet. The stain usually develops gradually over the following hours and may become darker over the next day or two. Natural henna commonly produces an orange, reddish-brown, or brown colour. The final shade depends on several factors, including the henna quality and individual skin characteristics. Avoid instant black henna products because they may contain chemicals that can cause serious skin reactions.
Common Mistakes Beginners Should Avoid
Beginners sometimes press the cone too hard, which can release too much paste and make the lines thick. Moving too quickly can also create uneven shapes. Another common mistake is adding too many details before learning the basic patterns. It is better to start with a small design and practise until you feel comfortable. Use henna products from a trusted source, and stop using them if you experience irritation or an unusual skin reaction.
Conclusion
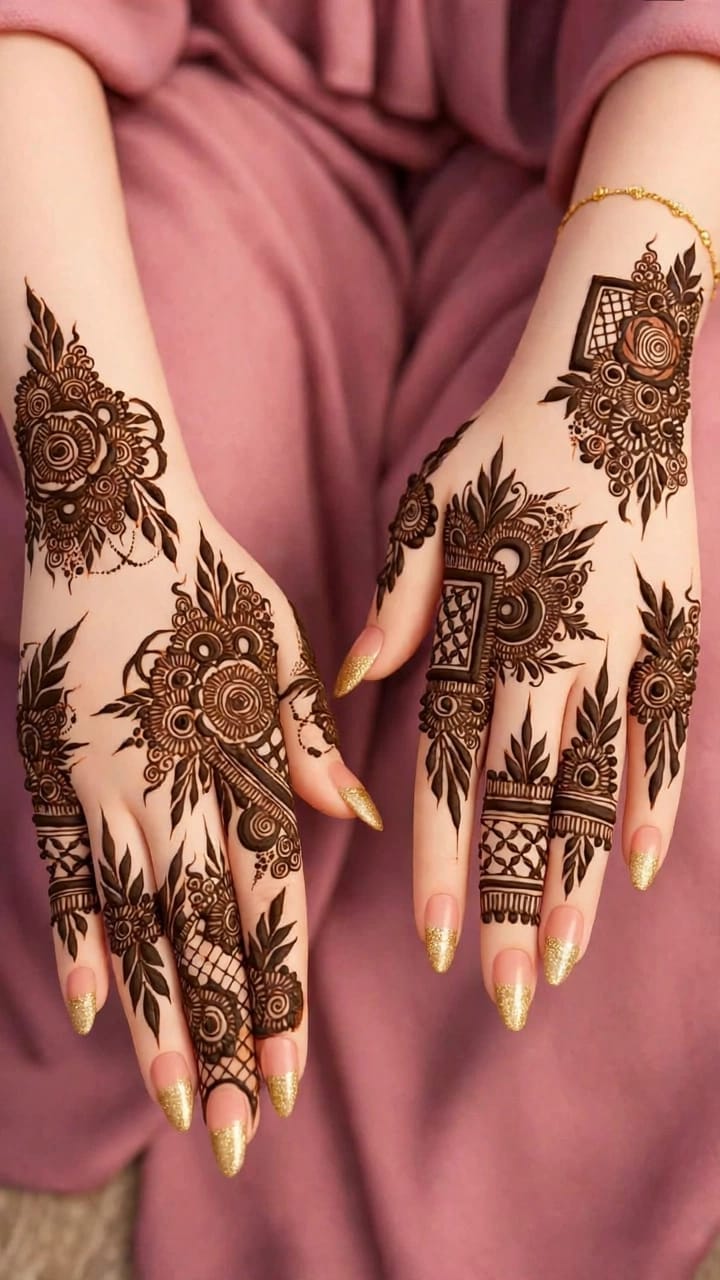
Learning simple mehndi designs can be an enjoyable and creative activity. Beginners do not need advanced skills to get started. By practising straight lines, dots, flowers, leaves, and finger patterns, anyone can gradually develop better control and confidence. Starting with paper practice and moving to a small hand design makes the process easier. With patience and regular practice, simple shapes can become beautiful mehndi artwork suitable for Eid, weddings, and everyday celebrations.Mehndi is more than just a beautiful design; it is a symbol of happiness, tradition, and creativity. It brings people together during weddings, festivals, and family celebrations. Today, mehndi designs are available in many different styles, from simple floral patterns to detailed traditional designs. Everyone can choose a design according to their personal taste and the occasion. Beginners can also learn mehndi art by practising simple shapes, flowers, leaves, and lines. With time and patience, they can improve their skills and create attractive patterns. Natural mehndi is often preferred because of its traditional use and beautiful stain. However, it is important to choose safe, skin-friendly mehndi and avoid products containing harmful chemicals. Whether applied on the hands or feet, mehndi adds a special touch to celebrations. Its beauty lies in its simplicity, cultural importance, and artistic value. Mehndi will continue to remain a favourite tradition for people who love art, beauty, and cultural celebrations.




Comments 0
Sign in to join the conversation.
No comments yet. Be the first to say something.