

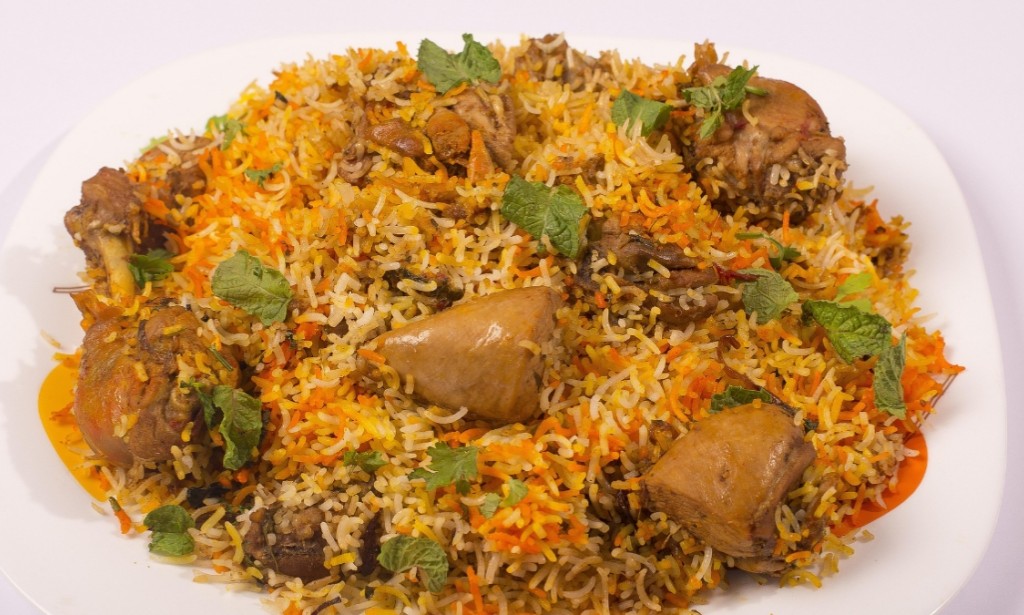
Chicken biryani is one of those dishes that can make an ordinary family meal feel special. The combination of fragrant rice, tender chicken, fried onions, fresh herbs, and warm spices creates a delicious meal that many people enjoy. In Pakistan, biryani is a popular choice for family gatherings, weekend lunches, celebrations, and even simple dinners at home.
Making biryani may seem difficult at first, especially if you are trying it for the first time. However, you do not need restaurant equipment or complicated cooking techniques to prepare a tasty version at home. With the right ingredients, a little patience, and a few useful tips, you can make chicken biryani that looks inviting and tastes wonderful.
This recipe explains each step in simple language, from preparing the chicken masala to layering the rice and allowing everything to cook together. It is suitable for home cooks who want to prepare a flavorful meal for their family.
Ingredients for Chicken Biryani
The following ingredients are suitable for approximately four to six servings. You can adjust the quantities depending on your family size and personal taste.
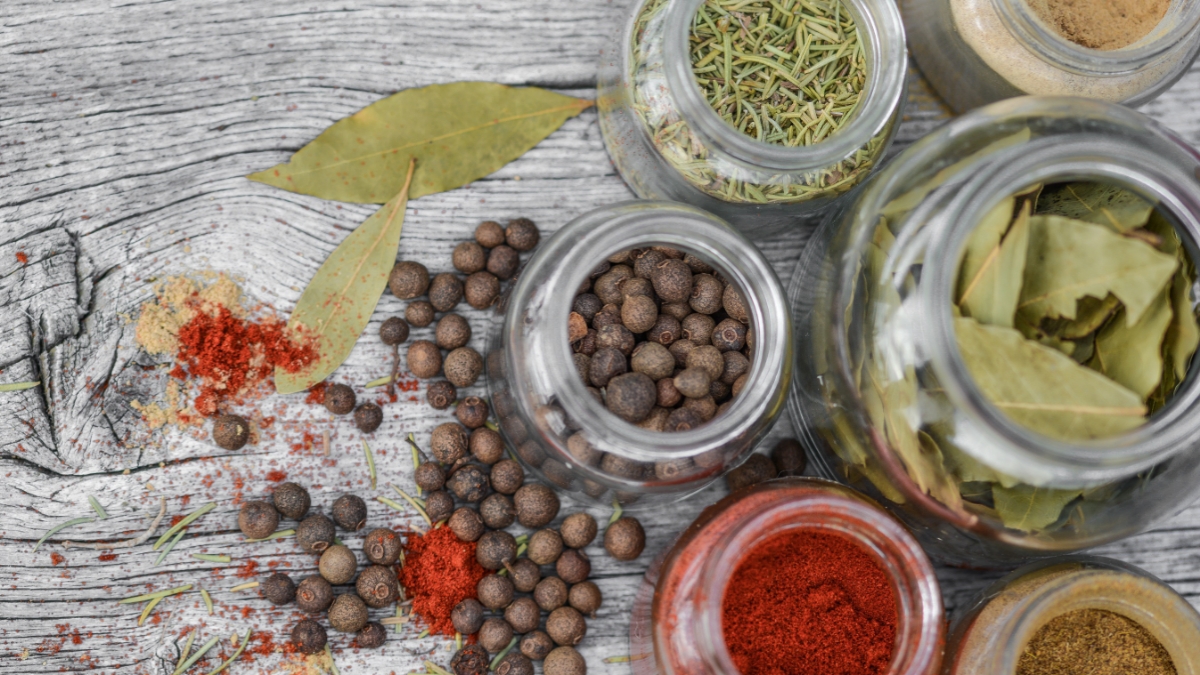
For the rice
3 cups basmati rice
Water for soaking and boiling
1 bay leaf
4 green cardamom pods
4 cloves
1 small cinnamon stick
1 tablespoon salt, or according to taste
For the chicken masala
750 grams chicken, cut into medium-sized pieces
2 medium onions, thinly sliced
2 medium tomatoes, chopped
1 cup plain yogurt
2 tablespoons ginger-garlic paste
2 to 3 green chilies, sliced
1 teaspoon red chili powder, or according to taste
1/2 teaspoon turmeric powder
1 teaspoon cumin powder
1 teaspoon coriander powder
1 teaspoon garam masala
1/2 teaspoon black pepper
1/2 cup chopped fresh coriander
1/2 cup fresh mint leaves
4 tablespoons cooking oil or ghee
Salt to taste
For layering
A pinch of food-grade yellow food color mixed with a little water, if desired
A few drops of lemon juice
Extra fresh coriander and mint
A small amount of fried onion, if available
Step 1: Prepare the Rice
Begin by washing the basmati rice gently under running water. Rinse it two or three times until the water becomes clearer. This helps remove excess surface starch and can help the cooked grains remain separate.
Soak the rice in water for about 20 to 30 minutes. Meanwhile, bring a large pot of water to a boil. Add salt, bay leaf, cardamom, cloves, and cinnamon to give the rice a pleasant aroma.
Drain the soaked rice and carefully add it to the boiling water. Cook until the grains are approximately 70 to 80 percent done. They should be longer and slightly soft on the outside but still firm in the center.
Drain the rice immediately. Do not cook it completely at this stage because it will finish cooking later when layered with the chicken masala. Overcooked rice can become mushy during the final cooking process.
Step 2: Prepare the Chicken Masala
Heat the oil or ghee in a large, heavy-bottomed pot over medium heat. Add the sliced onions and cook them until they turn golden brown. Stir regularly so they brown evenly without burning.
Add the ginger-garlic paste and cook for about one minute, stirring to prevent it from sticking to the bottom of the pot. Next, add the chicken pieces and cook for several minutes, turning them so they begin to change color on all sides.
Add the chopped tomatoes, red chili powder, turmeric, cumin powder, coriander powder, black pepper, and salt. Stir well so the spices coat the chicken evenly.
Cook until the tomatoes soften and begin to break down. This creates the base of the biryani masala and helps the spices develop their flavor.
Step 3: Add Yogurt and Cook the Chicken
Lower the heat slightly and add the yogurt gradually while stirring. Mixing the yogurt into the masala helps create a rich, flavorful sauce. If the yogurt is very cold, allowing it to come closer to room temperature before adding it may help it blend more smoothly.
Add the green chilies, chopped coriander, and mint leaves. Stir everything together and cover the pot. Let the chicken cook over low to medium heat until it becomes tender.
The cooking time depends on the size of the chicken pieces and the type of pot you use. Check occasionally and stir gently to prevent the masala from sticking. If the mixture becomes too dry before the chicken is cooked, add a small splash of water.
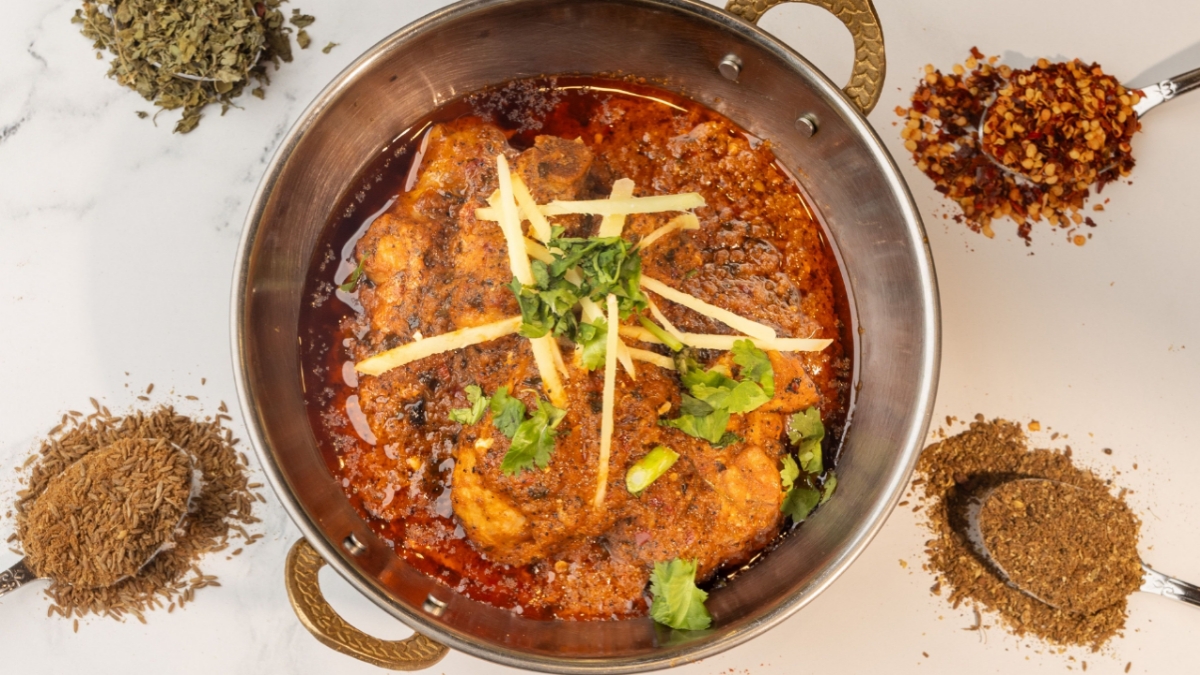
When the chicken is fully cooked, check the seasoning. The masala should be flavorful because it will later be combined with a large quantity of rice. However, avoid adding too much salt or chili.
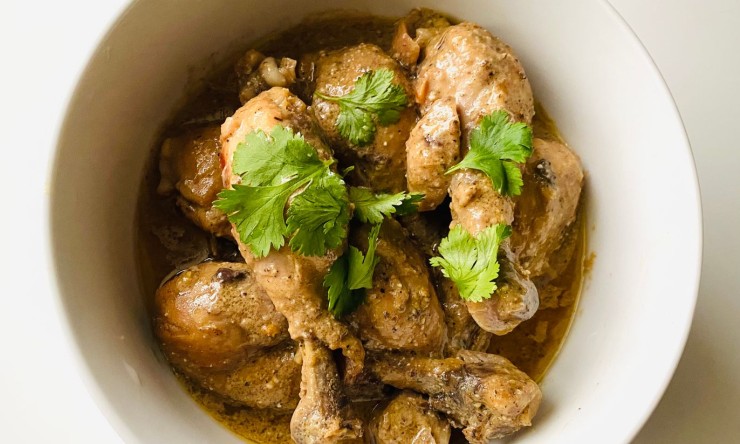
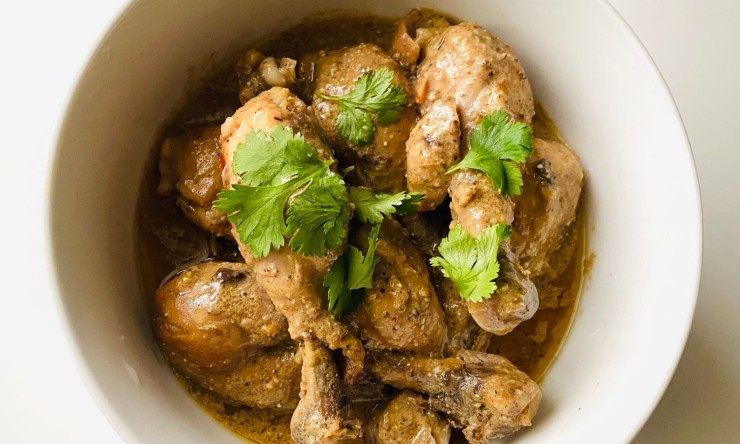
The gravy should be thick enough to coat the chicken. Too much watery gravy can make the rice soggy, while a completely dry masala may leave the rice less flavorful.
Step 4: Layer the Rice and Chicken
Once the chicken masala is ready and the rice has been partially cooked, it is time to assemble the biryani.
If you cooked the chicken in a suitable heavy-bottomed pot, you can layer the rice directly over the masala. Otherwise, transfer the chicken and gravy to a large pot that is suitable for slow cooking.
Spread the chicken masala evenly across the bottom. Add half of the partially cooked rice on top, followed by some coriander, mint, and fried onions. Add the remaining rice as the final layer.
If you like the traditional colorful appearance, drizzle a small amount of food-grade yellow food color mixed with water over a few areas of the rice. You can skip this ingredient if you prefer a more natural appearance.
Sprinkle a little lemon juice over the rice if desired. Avoid stirring the layers together at this point because keeping them separate helps create the familiar appearance of biryani.
Step 5: Cook the Biryani on Dum
Cover the pot tightly with a lid. If the lid does not fit securely, you can place a clean kitchen cloth under the lid, keeping it away from any flame, or use suitable heat-safe sealing methods.
Place the pot over very low heat for approximately 20 to 25 minutes. This slow cooking stage is commonly known as dum. It allows the rice to finish cooking while absorbing the aroma of the chicken masala, herbs, and spices.
Keep the heat low enough to prevent the rice at the bottom from burning. If your stove produces strong heat even at its lowest setting, use a heat diffuser or a heavy pan underneath the cooking pot.
After the cooking time, turn off the heat and allow the biryani to rest, covered, for another five to ten minutes. This short resting period helps the steam settle and makes the rice easier to serve.
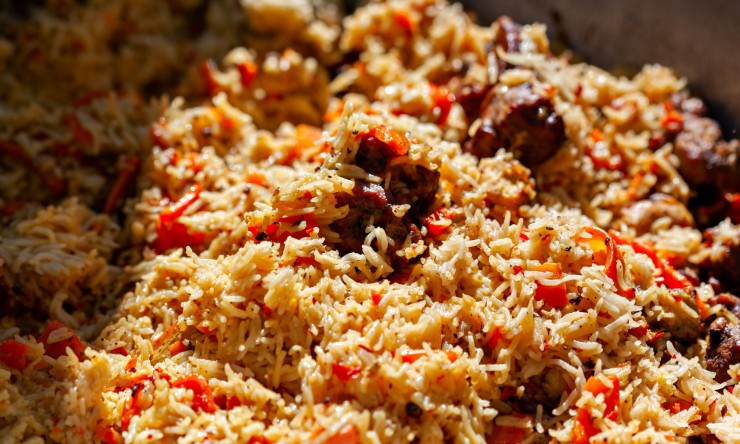
Open the lid carefully because hot steam will escape. Gently lift the rice and chicken from the sides using a large spoon. Avoid vigorous mixing, which can break the rice grains.
Tips for Making Better Chicken Biryani
Choose good-quality rice. Long-grain basmati rice is a popular choice because its fragrance and texture work well in biryani. Wash and soak it before cooking.
Do not overcook the rice. Remember that the rice will cook again during dum. Draining it while it is still slightly firm is important for a better final texture.
Brown the onions carefully. Golden-brown onions add flavor and color. Burnt onions, however, can make the entire dish taste bitter.
Use spices according to your preference. If you are cooking for children or people who prefer mild food, reduce the amount of red chili powder and green chilies. You can always serve extra green chilies separately.
Keep the gravy balanced. A thick, well-seasoned chicken masala helps flavor the rice without making it excessively wet.
Give the biryani enough resting time. Letting the cooked dish stand for a few minutes before serving helps the rice settle and makes it easier to handle.
What Can You Serve with Chicken Biryani?
Chicken biryani is satisfying on its own, but a few simple side dishes can make the meal even more enjoyable.
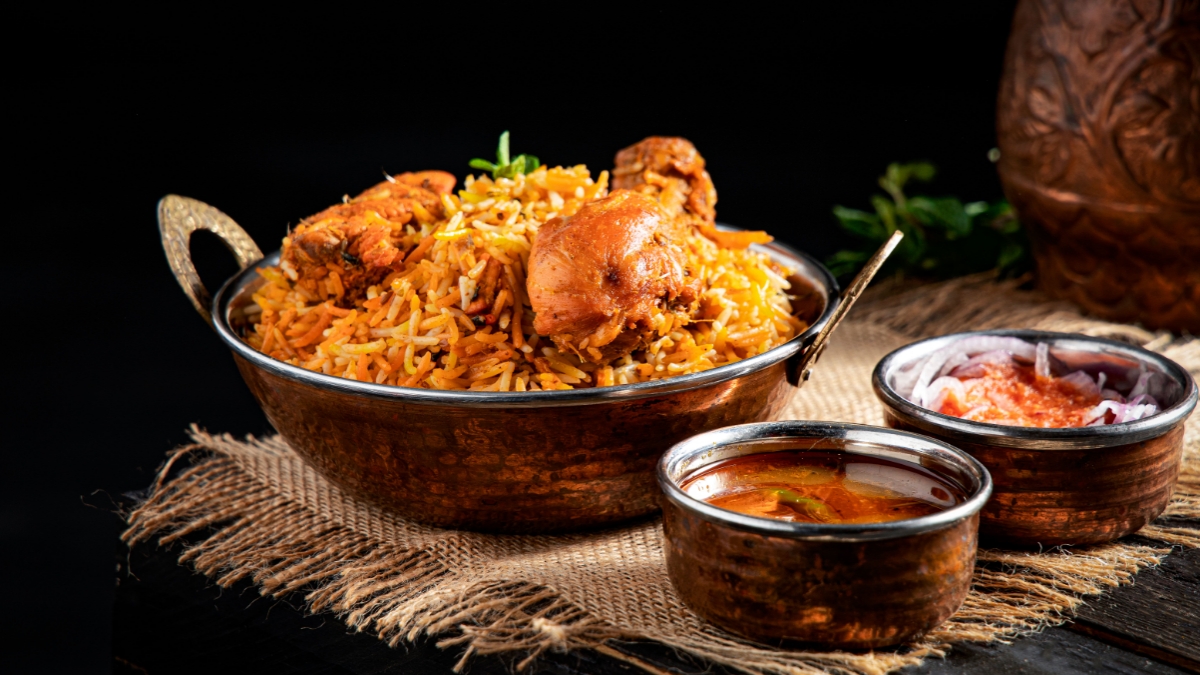
Plain yogurt or cucumber raita provides a cool, refreshing contrast to the spices. Fresh salad made with cucumber, tomatoes, onions, and lemon is another easy option. You can also serve mint chutney if your family enjoys a fresh and tangy flavor.
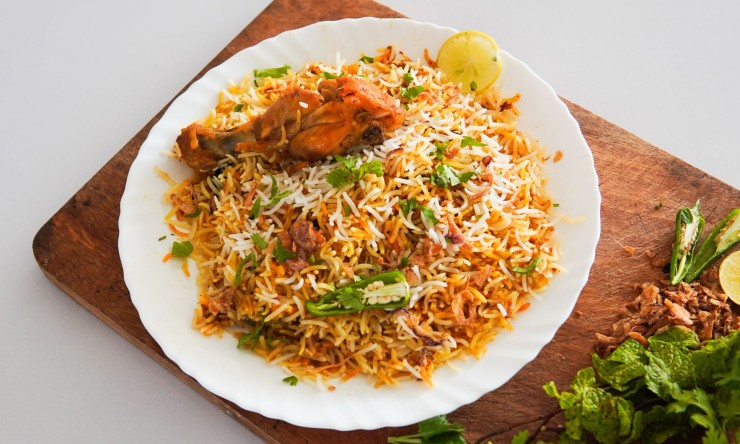
For a family lunch, arrange the biryani on a large serving platter and garnish it with fresh coriander, mint, and a few lemon wedges. Serve the raita and salad separately so everyone can choose what they prefer.
How to Store Leftover Biryani
If you have leftover biryani, place it in a clean, covered container and refrigerate it promptly, ideally within two hours of cooking. Divide large quantities into smaller containers so they cool more quickly.
Refrigerated leftovers should generally be used within three to four days. Reheat only the portion you need until it is steaming hot throughout. Add a small splash of water before reheating if the rice has become dry.
Do not leave cooked rice at room temperature for long periods, because bacteria can grow in improperly stored rice. When in doubt about how long the food has been sitting out, it is safer to discard it.
Frequently Asked Questions
Can I make chicken biryani without food color?
Yes. Food color is optional. The natural color from the chicken masala, tomatoes, spices, and fried onions is enough to make a delicious dish.
Why does my biryani rice become mushy?
This often happens when the rice is boiled for too long before layering or when the chicken masala contains too much liquid. Cook the rice only partially and keep the gravy reasonably thick.
Can I prepare the chicken masala in advance?
Yes. You can prepare the chicken masala ahead of time and refrigerate it in a covered container. Cool it promptly, store it safely, and reheat it thoroughly before assembling the biryani. Cook the rice and complete the layering when you are ready to serve.
How can I make biryani less spicy?
Use less red chili powder and fewer green chilies. You can still enjoy the aroma of cardamom, cinnamon, cumin, coriander, and other spices without making the dish too hot.
Final Thoughts
Homemade chicken biryani is a wonderful way to bring familiar flavors to the family table. Although it involves several steps, each part becomes easier with practice. Preparing the chicken masala carefully, cooking the rice only partially, and giving the final dish enough time on dum can make a noticeable difference.
You can adjust the spices, herbs, and serving suggestions to suit your family's preferences. Once you become comfortable with this method, you may find it easier to prepare biryani for weekend meals, guests, and special occasions.
Have you tried making chicken biryani at home? Which ingredient or cooking tip makes the biggest difference in your kitchen? Share your experience and favorite variations with other readers.




Comments 0
Sign in to join the conversation.
No comments yet. Be the first to say something.